WREN Tutorial
Three building blocks — documents, versions, and trees — and everything built on top of them: labels, schemas, binary assets, API keys, collaborators, and permissions. A complete walkthrough of the Admin UI and CLI.
1 Getting started
WREN runs as a single Docker container backed by Postgres. Start everything with:
docker compose up -d
# Admin UI → http://localhost:4000/admin
# API docs  → http://localhost:4000/docs
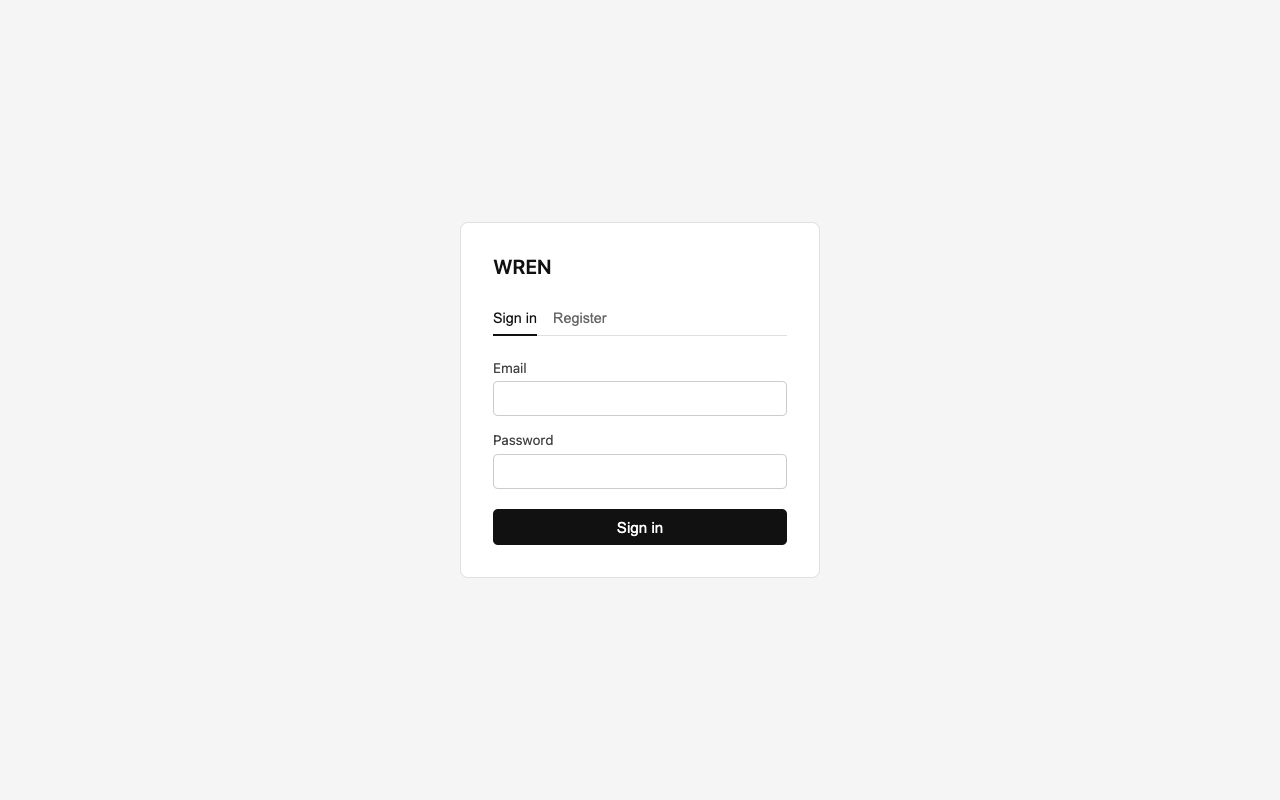
Login & account
Open http://localhost:4000/admin. On first visit, sign up with an email and password. Every subsequent visit requires the same credentials. Your session persists across browser refreshes.
wren auth login -e [email protected] -p yourpassword
wren auth whoami
wren auth logout
POST /api/auth/sign-in/email
{"email":"[email protected]","password":"…"}

GET /api/auth/get-session
Organisations
When you sign up, WREN creates an organisation for you. Every collection, document, and tree belongs to an organisation — data is fully isolated between orgs. If you're a member of multiple orgs, a dropdown in the sidebar lets you switch the active one.
wren org current
wren org switch <orgId>
GET /api/org
PUT /api/org  {"orgId":"<id>"}
2 Three building blocks
Before you dive in, it helps to see the whole shape. WREN is built on three composable primitives. Each one is useful alone, and they all come together in the same API.
Documents (in collections)
A document is a JSON object. Documents live in named collections — schema-free by default, or validated by a JSON Schema when you’re ready. Binary assets (images, PDFs, videos) are first-class and live in collections too. Everything in WREN ultimately hangs off a document.
POST /api/v1/events
{ "name": "Masters 2026", "city": "Augusta" }
→ { "id": "abc", "version": 1, ... }
Covered in section 3, with binary assets in section 4.
Versions (and labels)
Every mutation creates a new version — the old data is never overwritten. Roll back, diff any two versions, or pin a label like published or draft to serve a specific snapshot. Labels are how you build publish workflows without splitting your data across two collections.
PUT /api/v1/events/abc   →   version 2
POST /api/v1/events/abc/labels { "label": "published" }
GET  /api/v1/events/abc?label=published   →   served at v2
Covered in section 5 and section 6.
Trees (paths pointing at documents)
A tree is a named hierarchy of paths. Each path can point to a document in any collection, be an empty folder, or both. Trees give your data shape — a site map, an event calendar, a product catalogue — and let you fetch a whole branch in one request with ?full=true. Combined with public permissions, a tree becomes a zero-config read API at /orgs/{slug}/tree/….
PUT /api/v1/tree/site/2026/masters { "documentId": "abc" }
GET /api/v1/tree/site?full=true&label=published
Covered in section 8.
3 Collections & documents
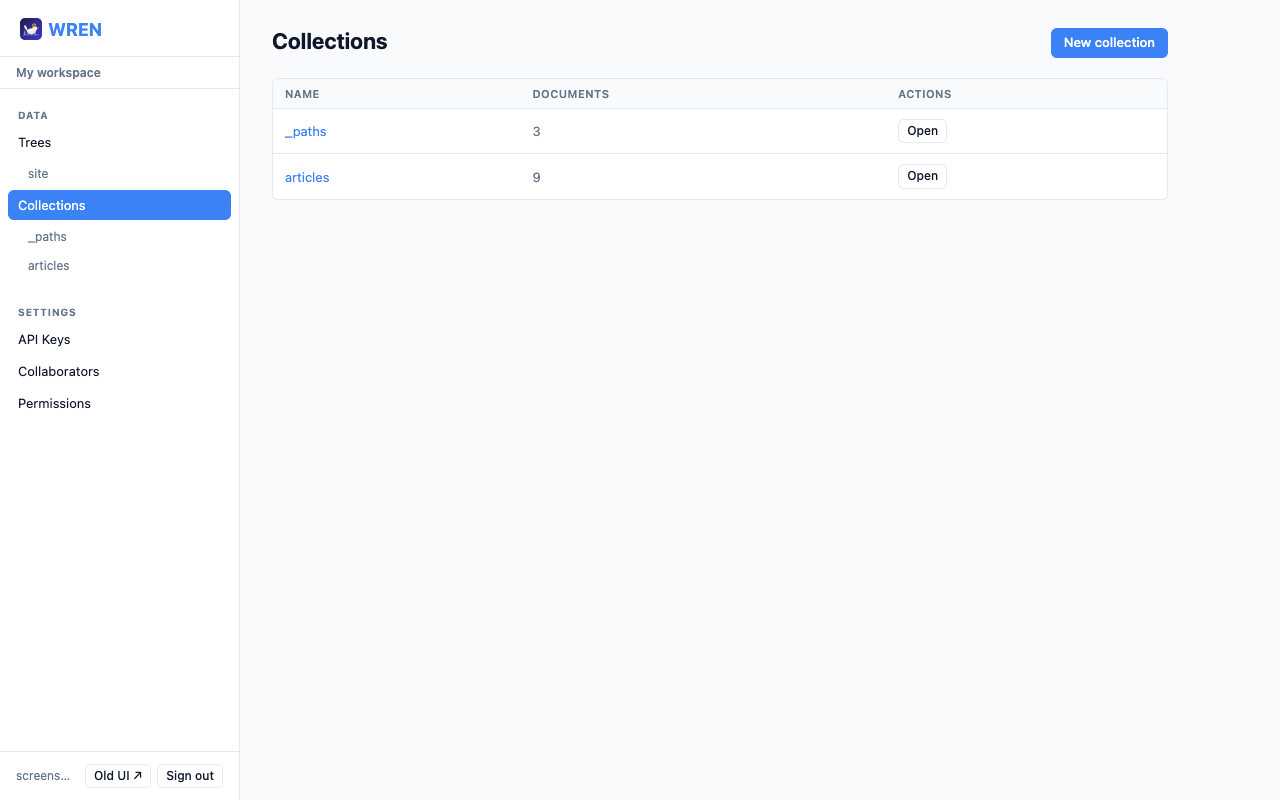
A collection is a named bucket for JSON documents. Collections are listed in the sidebar with their document counts.
Create a collection
Click New collection on the Collections page, enter a name (lowercase, letters, numbers, hyphens, underscores), and click Create. A default open JSON Schema ({"type":"object","additionalProperties":true}) is created automatically so the collection appears in the schema tab immediately.
# Schema set implicitly on first doc
wren create pages '{"title":"Hello"}'

# Or set schema explicitly first
wren schema set pages '{
  "type":"object",
  "additionalProperties":true
}'
PUT /pages/_schema
{
  "collectionType": "json",
  "schema": {
    "type": "object",
    "additionalProperties": true
  }
}
Create a document
- 1 Open a collection from the sidebar.
- 2 Click New document.
- 3 Optionally enter a custom ID (leave blank to auto-generate a UUID).
- 4 Paste or type your JSON and click Create.
422 and a list of field errors.
wren create pages '{"title":"Hello World","published":false}'
POST /pages
{"title":"Hello World","published":false}

→ {"id":"abc123","version":1,"data":{…}}
Read & list
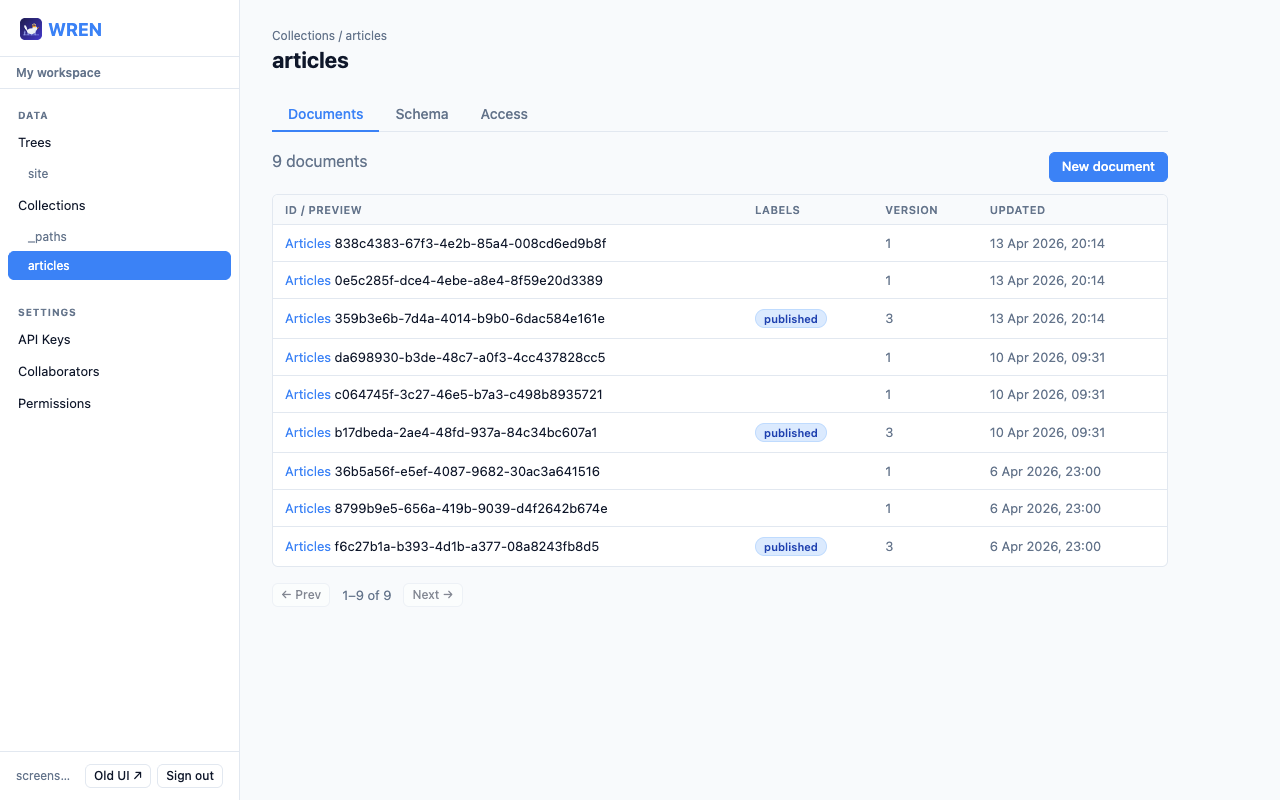
The collection page shows all documents in a table. If a display name rule is set (e.g. {title}), the human-readable name appears in the first column instead of the raw ID. Click any row to open the document.
wren collections
wren list pages
wren list pages --limit=5 --label=published
wren get pages abc123
wren get pages abc123 --label=published
GET /collections
GET /pages?limit=20&offset=0
GET /pages?label=published
GET /pages/abc123
GET /pages/abc123?label=published
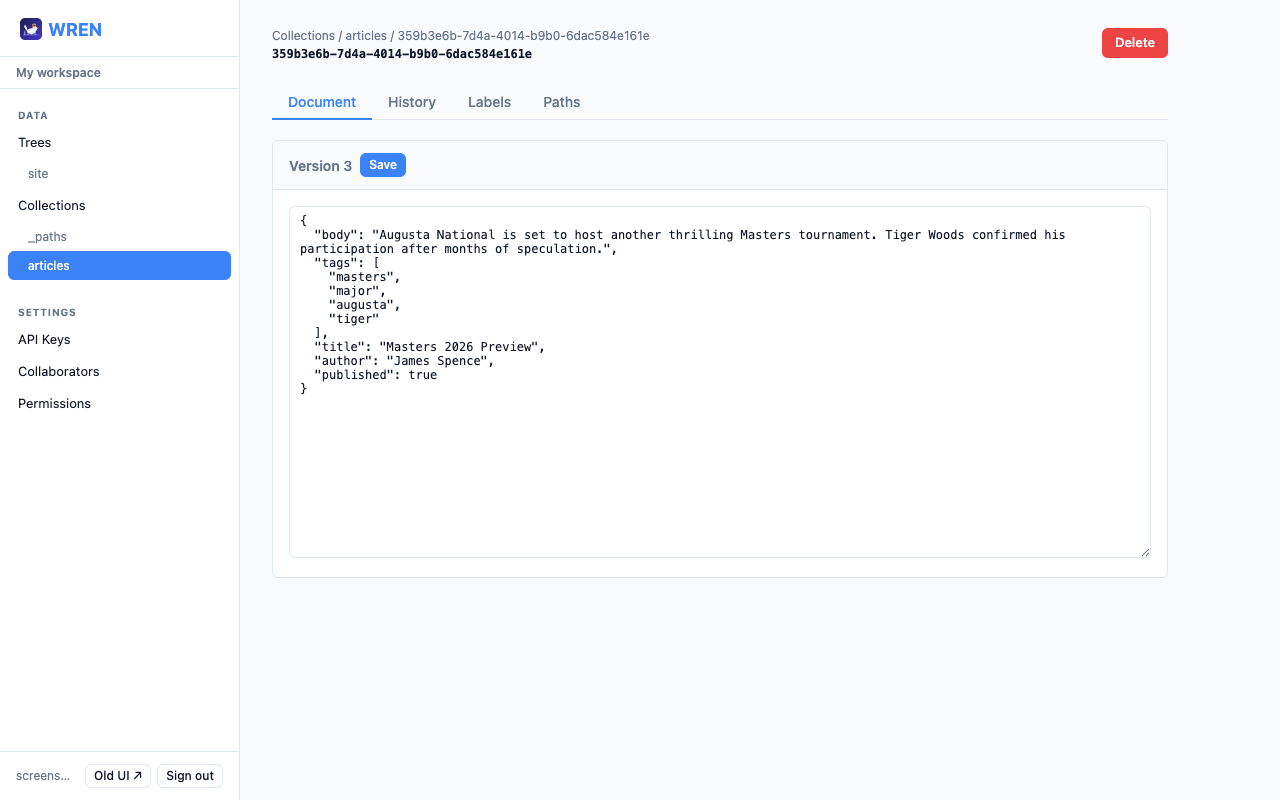
Update a document
Open a document and click the Document tab. Edit the JSON directly in the textarea and click Save. Every save creates a new immutable version — the old data is never overwritten.
wren update pages abc123 '{"title":"Hello World","published":true}'
PUT /pages/abc123
{"title":"Hello World","published":true}
Delete a document
Click the red Delete button on the document page. The button requires a confirmation click. Deletion is a soft-delete — the document is hidden but its versions remain in the database.
wren delete pages abc123
DELETE /pages/abc123
Natural keys and upsert-by-key
Every document has a UUID, but most content also has a human-readable identifier — a slug, a sku, a path. WREN lets you declare one field as the collection’s natural key and then interact with documents by that value instead of the UUID.
Step 1 — declare the key. Set naturalKey on the collection schema:
wren schema set pages \
  '{"type":"object","required":["slug","title"],...}' \
  --natural-key=slug
PUT /api/v1/pages/_schema
{
  "naturalKey": "slug",
  "schema": {"type":"object","required":["slug","title"],...}
}
Step 2 — upsert. PUT /api/v1/pages/by-key/about creates the document if it doesn’t exist, or updates it if it does — in a single transactional call. The 20-line list-then-find-then-put loop in every push script becomes one API call:
# First run → 201 (created)
wren upsert pages about \
  '{"slug":"about","title":"About Us"}'

# Second run → 200 (updated, version 2)
wren upsert pages about \
  '{"slug":"about","title":"About Us (updated)"}'
PUT /api/v1/pages/by-key/about
{"slug":"about","title":"About Us"}
→ 201 { "id": "abc", "version": 1, "naturalKey": "about", ... }

PUT /api/v1/pages/by-key/about
{"slug":"about","title":"About Us (updated)"}
→ 200 { "id": "abc", "version": 2, ... }
Step 3 — read and delete by key.
wren get-by-key pages about
wren delete-by-key pages about
GET    /api/v1/pages/by-key/about
DELETE /api/v1/pages/by-key/about
data.slug from "about" to "about-us" via a regular PUT, the column moves too — the document is now addressable at /by-key/about-us and the old key is released.
409 Conflict if a collision is detected. Deleted documents release their key slot (they’re excluded from the unique index), so you can recreate at the same key after deletion.
Public reads also work via the org slug: GET /api/v1/orgs/{slug}/pages/by-key/about (or the short alias /orgs/{slug}/pages/by-key/about), gated by the usual principal=* read rule on the collection.
4 Binary assets
Collections can store binary files (images, videos, PDFs, etc.) instead of JSON. Set Collection type to Binary assets in the Schema tab to enable this mode.
Upload a file
- 1 Open a binary collection.
- 2 Click Upload file.
- 3 Choose a file and click Upload. The filename, MIME type, and size are stored automatically.
wren upload images ./photo.jpg
POST /images   (multipart/form-data, field: file)
→ {"id":"xyz","version":1,"data":{
    "filename":"photo.jpg",
    "mimeType":"image/jpeg",
    "size":204800
  }}
Replace & download
Open a binary asset to see a preview (images, video, audio, and PDFs render inline). Use the Download button to save the file, or scroll to Replace file to upload a new version while keeping the history.
A Metadata card below the file controls shows the document's JSON — system fields like filename, mimeType, and size, plus any custom fields you added. You can edit and save metadata independently of the file.
Every version of a binary asset is independently downloadable via the raw URL.
# Download current version
wren download images xyz --out ./photo.jpg

# Download a specific version
wren download images xyz --version=2 --out ./photo-v2.jpg

# Upload a new version (replaces content, keeps history)
wren upload-version images xyz ./photo-v2.jpg
GET /images/xyz/raw
GET /images/xyz/raw?version=2
PUT /images/xyz   (multipart/form-data, field: file)
5 Versioning
Every mutation — create, update, rollback — produces a new numbered version. Versions start at 1, increment by 1, and are immutable. Nothing is ever deleted from the version history.
View history
Open any document and click the History tab. A timeline shows every version, newest first. Click View on any entry to expand the raw data for that version.
wren versions pages abc123
GET /pages/abc123/versions
GET /pages/abc123/versions/2

Diff versions
In the History tab, click Compare versions, pick any two version numbers from the dropdowns, then click Show diff. The response shows what changed between them.
wren diff pages abc123 --v1=1 --v2=3
GET /pages/abc123/diff?v1=1&v2=3

Rollback
Rolling back doesn't erase versions — it creates a new version whose content matches the target. In the History tab, click Rollback here on any entry and confirm.
# Creates v4 = copy of v1's data
wren rollback pages abc123 1
POST /pages/abc123/rollback/1
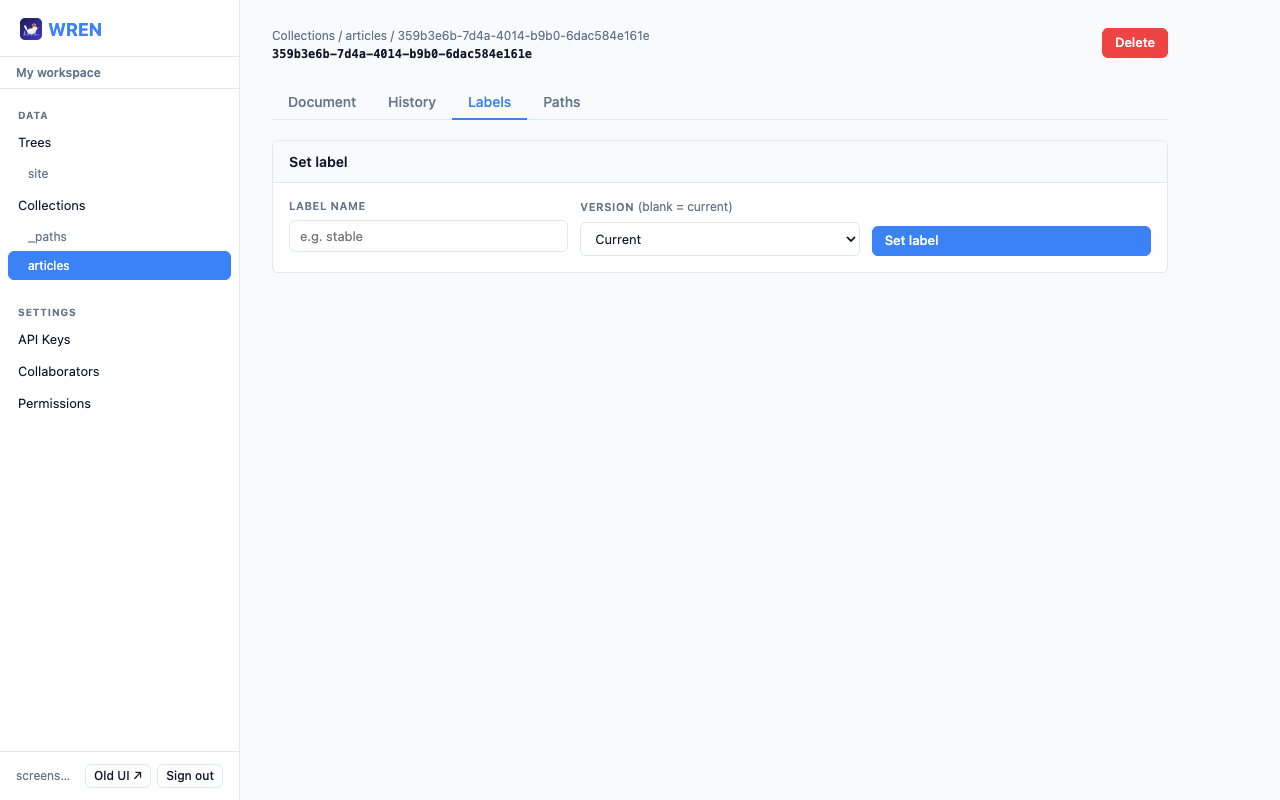
6 Labels
A label is a named pointer to a specific version — like a Git tag. Moving a label never changes the underlying versions. Common labels: published, stable, draft.
published label when you're ready. Readers always fetch by label, so they always get the approved version regardless of how many drafts exist.
# Point "published" at the current version
wren label pages abc123 published

# Point "archive" at version 1 specifically
wren label pages abc123 archive --version=1

# Fetch whichever version "published" points to
wren get pages abc123 --label=published

# List documents filtered to a label
wren list pages --label=published
POST /pages/abc123/labels
{"label":"published"}

POST /pages/abc123/labels
{"label":"archive","version":1}

GET /pages/abc123?label=published
GET /pages?label=published
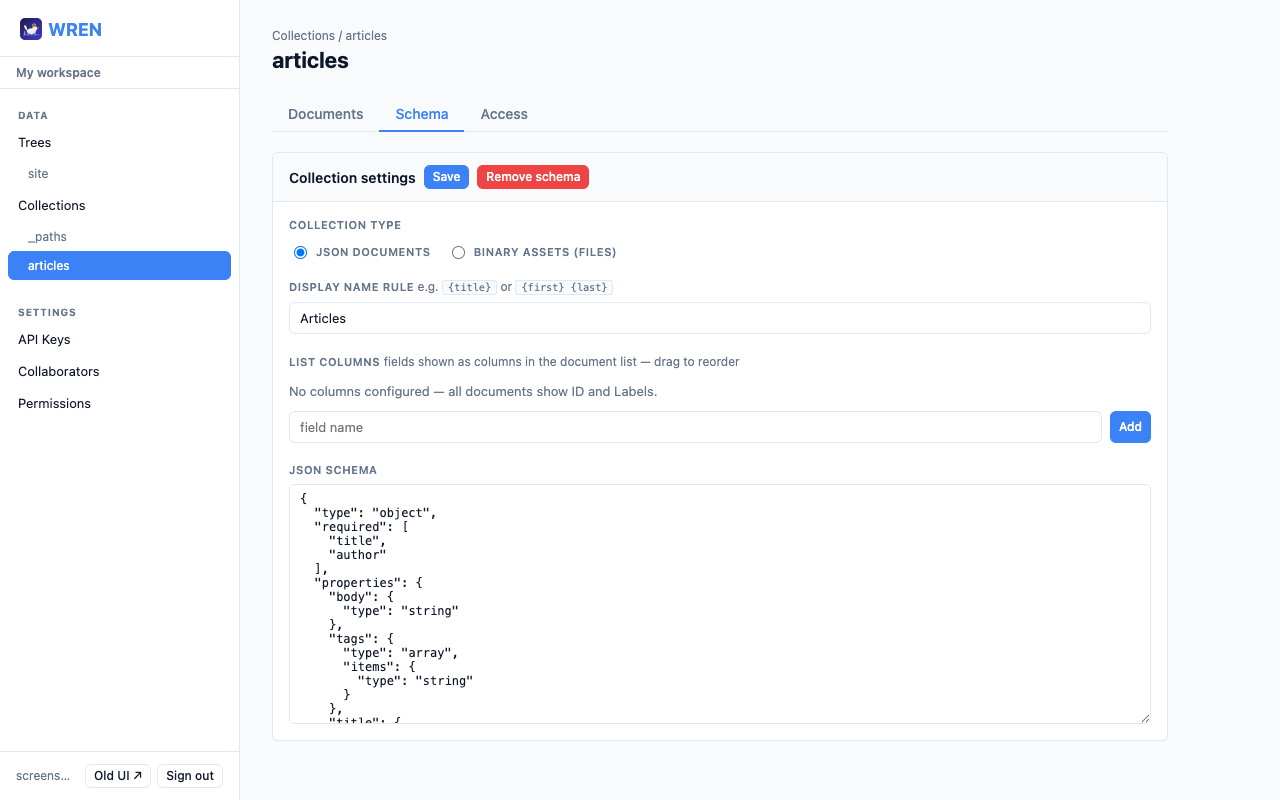
7 JSON Schemas
By default a new collection accepts any JSON object. Attach a JSON Schema to enforce a strict shape — every write is validated and rejected with 422 if it fails.
Set a schema
- 1 Open a collection and click the Schema tab.
- 2 Choose Collection type: JSON documents or Binary assets.
- 3 For JSON collections, optionally set a Display name rule (e.g.
{title}) and configure List columns — type a field name and click Add, then drag rows to reorder or click × to remove them. - 4 Edit the JSON Schema in the textarea.
- 5 Click Save. Click Remove schema to disable validation entirely.
"additionalProperties": true) accepts any object. Tighten it once your shape is stable.
{
  "type": "object",
  "required": ["title"],
  "properties": {
    "title":     { "type": "string", "minLength": 1 },
    "published": { "type": "boolean" },
    "body":      { "type": "string" }
  },
  "additionalProperties": false
}
wren schema get pages
wren schema set pages '{"type":"object","required":["title"],...}'
wren schema set pages --type=binary   # binary collection
wren schema delete pages
GET  /pages/_schema
PUT  /pages/_schema
  {"collectionType":"json","schema":{…},"displayName":"{title}"}
DELETE /pages/_schema
Display name rules
A display name rule is a template that extracts a human-readable name from document data. Set it in the Display name rule field on the Schema tab, for example {title} or {first} {last}. This name is shown in the documents list instead of the raw UUID.
wren schema set pages \
  '{"type":"object","additionalProperties":true}' \
  --display-name="{title}"
PUT /pages/_schema
{
  "collectionType": "json",
  "displayName": "{title}",
  "schema": {"type":"object","additionalProperties":true}
}
Changing a schema on existing data
WREN does not validate existing documents when you set or change a schema. The rules apply going forward:
- POST a new document — validated against the current schema; rejected with
422if it fails. - PUT an update — same. Every write must satisfy the current schema.
- Existing documents — left untouched. If you tighten the schema, already-stored documents that no longer match are grandfathered: they keep working, but you cannot update them without also bringing them into compliance.
- Rollback — writes a new version containing the old data without running validation. This means you can roll a document back to a pre-schema version even after tightening the schema. The next PUT on that document, however, must satisfy the current rules.
- Reads — never validated. Clients always get whatever is stored.
required constraints is safe: existing docs still match. Adding new required fields, tightening types, or setting additionalProperties: false are the changes that strand existing data in "readable but not re-writable" purgatory. Test the new schema against a few real documents before shipping it.
Dry-run: validate existing docs against a schema
Before tightening a schema, you can ask WREN to run it against every existing document in the collection and report which ones would fail — without actually changing anything. Useful as a pre-flight check, or as a CI gate for schema changes.
Hit GET /api/v1/{collection}/_schema/validate to run the currently-stored schema against every document (useful for spotting grandfathered docs from a previous tightening). Or POST with a schema in the body to dry-run a proposed schema before committing to it.
# Validate against the currently-stored schema
wren schema validate pages

# Validate a proposed schema before saving it
wren schema validate pages '{
  "type":"object",
  "required":["title","author"],
  "properties":{
    "title":{"type":"string"},
    "author":{"type":"string"}
  }
}'

# --json for the raw response (good for piping to jq)
wren schema validate pages --json

# --max / --limit for very large collections
wren schema validate pages --max=50000 --limit=500
# Current schema against all existing docs
GET /api/v1/pages/_schema/validate?max=10000&limit=100

# Proposed schema (wrapper form)
POST /api/v1/pages/_schema/validate
{"schema":{"type":"object","required":["title"],...}}
The response reports totals plus up to limit failing documents with their id, current version, and the exact ajv error messages:
{
  "collection": "pages",
  "schemaSource": "proposed",
  "checked": 150,
  "limitReached": false,
  "valid": 147,
  "invalid": 3,
  "failures": [
    { "id": "abc", "version": 5, "errors": ["/author must be string"] },
    { "id": "def", "version": 2, "errors": ["/title must NOT have fewer than 1 characters"] },
    { "id": "ghi", "version": 1, "errors": ["/ must have required property 'author'"] }
  ],
  "failuresTruncated": false
}
wren schema validate exits with status 1 when any documents would fail. So wren schema validate pages && wren schema set pages '…' && deploy.sh is a safe pipeline: the schema only gets set, and the deploy only runs, if every existing document already passes.
The endpoint is read-only. It requires read access to the collection (anyone who can read the data can dry-run a schema against it); schema changes still require admin. It caps at 50 000 documents per call — for larger collections, limitReached: true in the response tells you there's more to check.
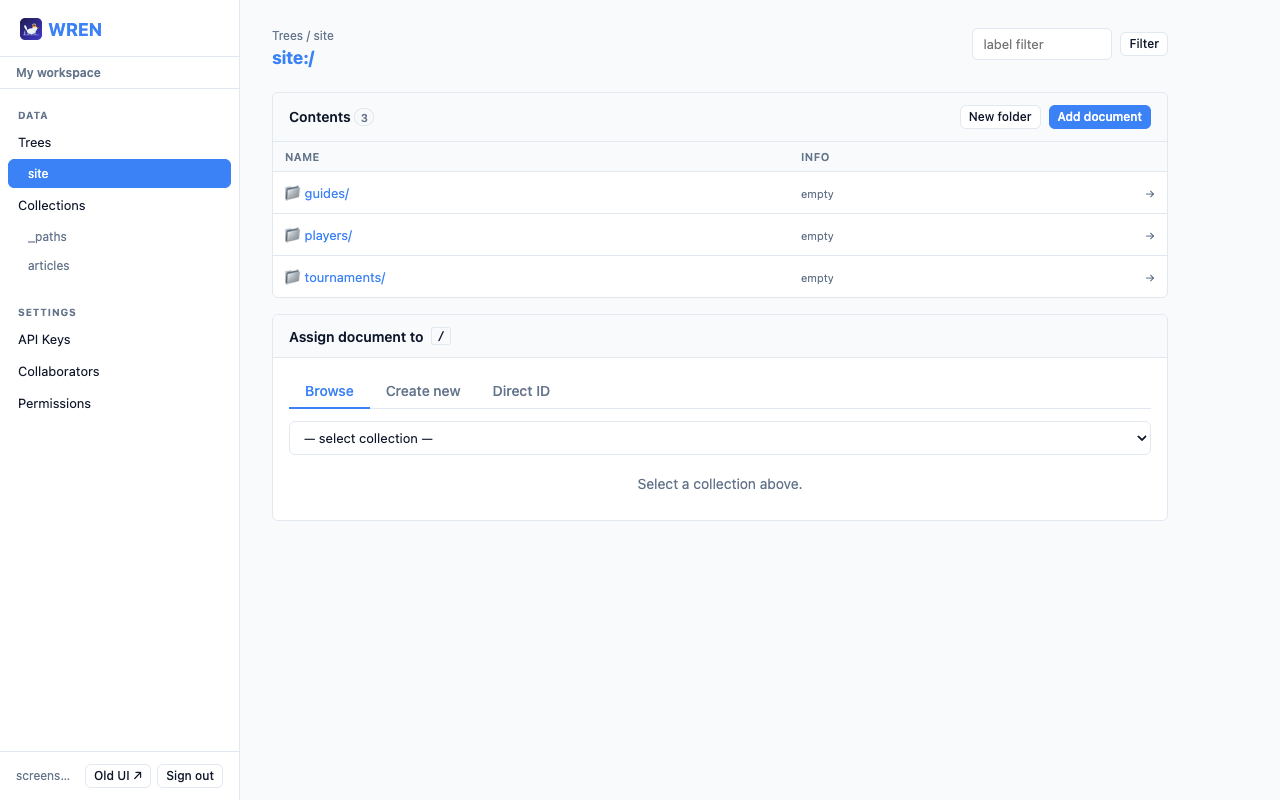
8 Trees
A tree maps URL-style paths to documents — like a filesystem or a CMS route table. A tenant can have multiple named trees (e.g. main and staging). The same document can appear in multiple trees at different paths.
Individual trees are listed in the sidebar under Trees — click a tree name to open its file browser.
Browse a tree
The tree browser works like a filesystem. At each path level you see:
- The document assigned to the current path (with JSON preview, version badge, and links to open, reassign, or remove it).
- A Contents list of child paths (folders and documents) — click any child to navigate deeper.
- A New folder button to create a new child path without assigning a document first.
A clickable breadcrumb trail at the top lets you move back up the tree. Use the optional label filter to view a specific version (e.g. only published documents).
wren tree list
wren tree view main
wren tree get main /site/about
GET /tree
GET /tree/main?full=true
GET /tree/main/site/about
Drill into a path to see the document assigned there, its JSON preview, and any children:

Assign documents to a path
If a path has no document, the assign panel opens automatically. Otherwise click Reassign. The panel has three tabs:
- Browse — select a collection from the dropdown, then click Select next to any document. Documents render the same way as in the collection list: binary assets show filename, type, and size; JSON documents show the display name (from the collection's display name rule) and any configured list columns.
- Create new — select a collection, write JSON in the editor, and click Create & assign to create the document and assign it in one step.
- Direct ID — paste a document ID and click Set.
Click Unassign to clear a document from a path — the path remains as an empty folder and the document itself is not deleted.
When a folder is empty (no document assigned), a Remove folder button appears above the Contents card. Click it to delete the explicit path entry. If the folder still has descendants, it will reappear as an implicit grouping.
Add a document as a child
Use the Add document button in the Contents header to assign a document to a new child path without navigating there first. Optionally type a path segment name, then pick a document in the usual way. If you leave the segment name blank, the UI derives one from the document's filename field (for binary assets) or its display name rule (case preserved, spaces replaced with hyphens) — perfect for quickly adding an index.html or My-Article to a folder.
# Assign a document
wren tree set main /site/about abc123

# Remove mapping (document is kept)
wren tree remove main /site/about

# Point staging at a different doc
wren tree set staging /site/about draft456
PUT /tree/main/site/about
{"documentId":"abc123"}

DELETE /tree/main/site/about
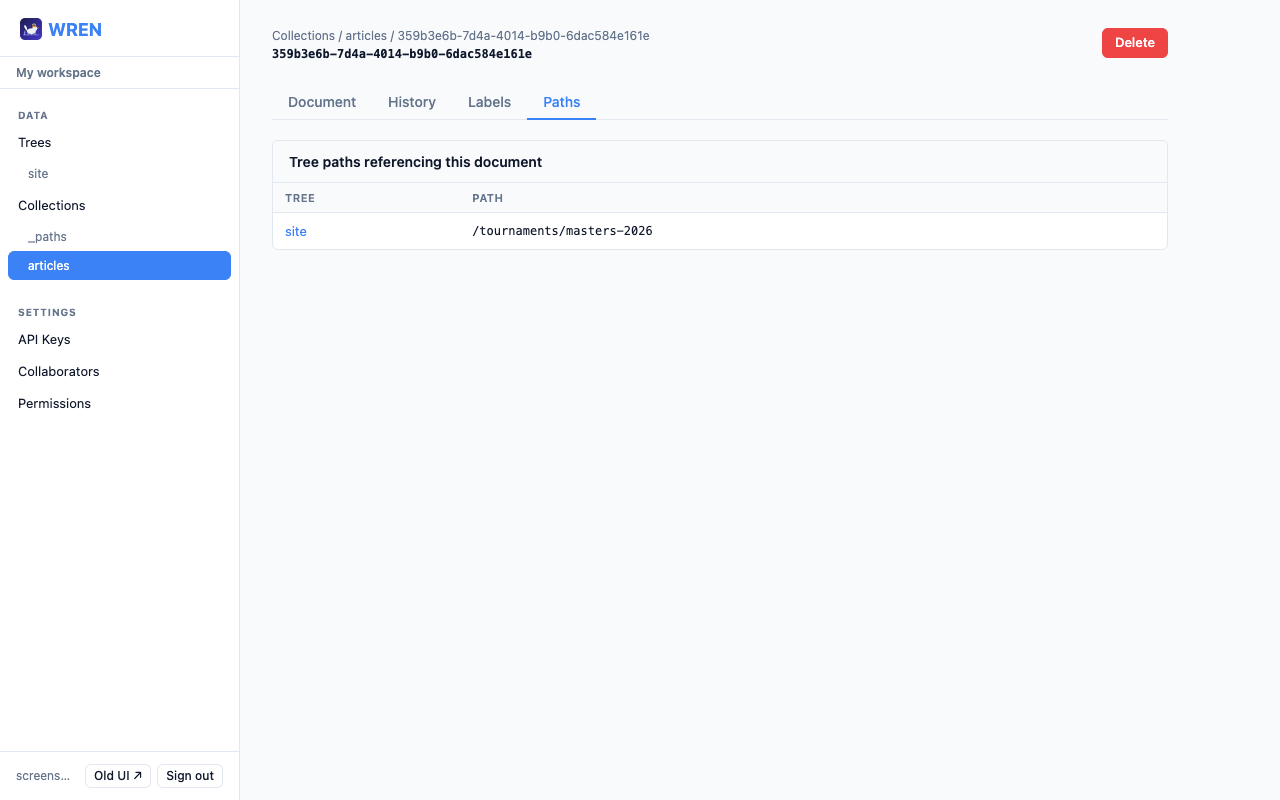
Paths tab (from a document)
Open any document and click the Paths tab to see every tree path that points to it. Useful for understanding where a document is referenced before moving or deleting it.
wren paths pages abc123
GET /pages/abc123/paths
pages collection. Map them into the main tree at their public URLs. For previews, use a staging tree that points to draft documents at the same paths.
9 API keys
API keys let scripts and services authenticate without a user session. Keys are prefixed with wren_ and passed as a Bearer token.
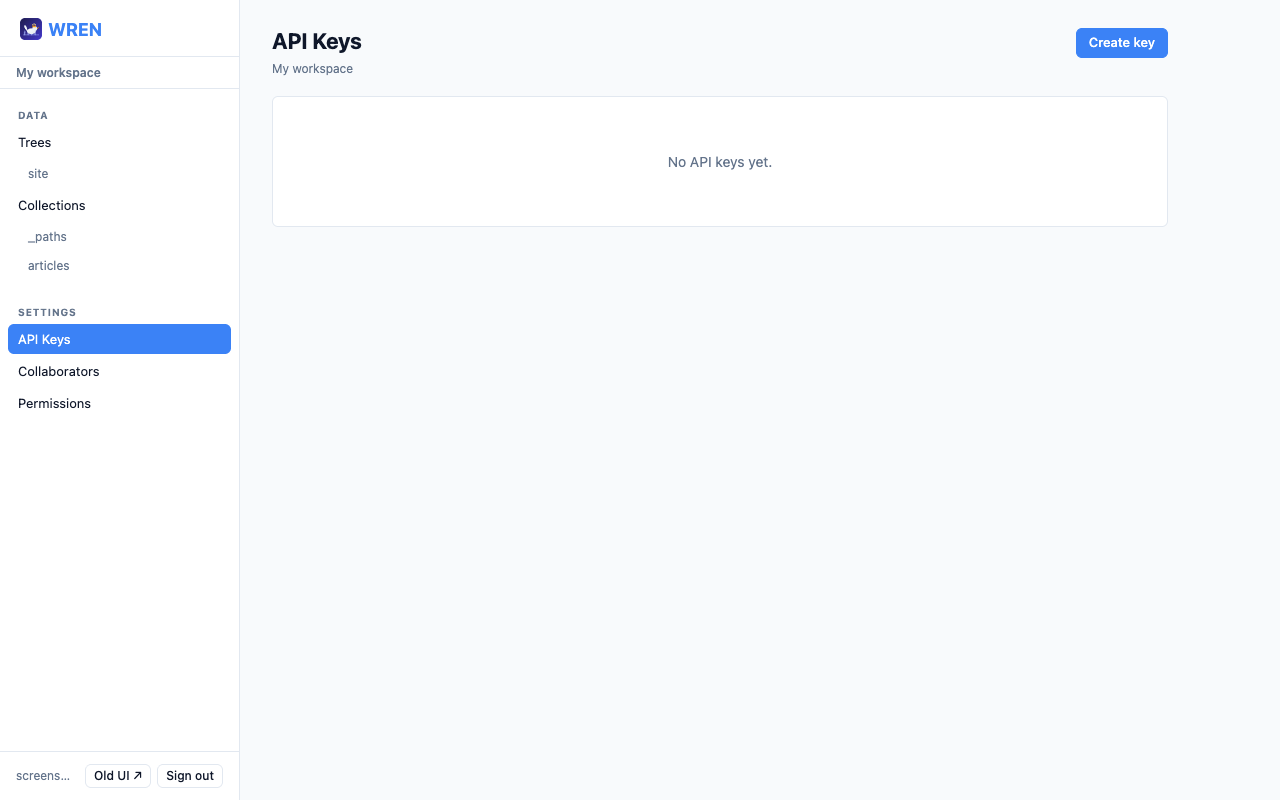
wren keys list
wren keys create "ci-deploy"
wren keys revoke <keyId>
GET    /api/keys
POST   /api/keys  {"name":"ci-deploy"}
DELETE /api/keys/<keyId>

# Use a key:
Authorization: Bearer wren_abc123…
Self-check: who am I?
After setting up a key, confirm it works and see what it can access with GET /api/me. The endpoint returns the calling principal, the org the request is scoped to, the caller's role, and all permission rules that apply — useful for scripts and agents that want to preflight scope before acting.
wren me
# or: wren auth whoami
GET /api/me
Authorization: Bearer wren_abc123…

{
  "principal": "key:a3f4e5d2",
  "authMethod": "api_key",
  "user": { "id": "…", "name": "Jane", "email": "…" },
  "org":  { "id": "…", "slug": "coral-tide-fox", "role": "owner" },
  "apiKey": { "name": "ci-deploy", "prefix": "wren_abc1" },
  "permissions": [ … ]
}
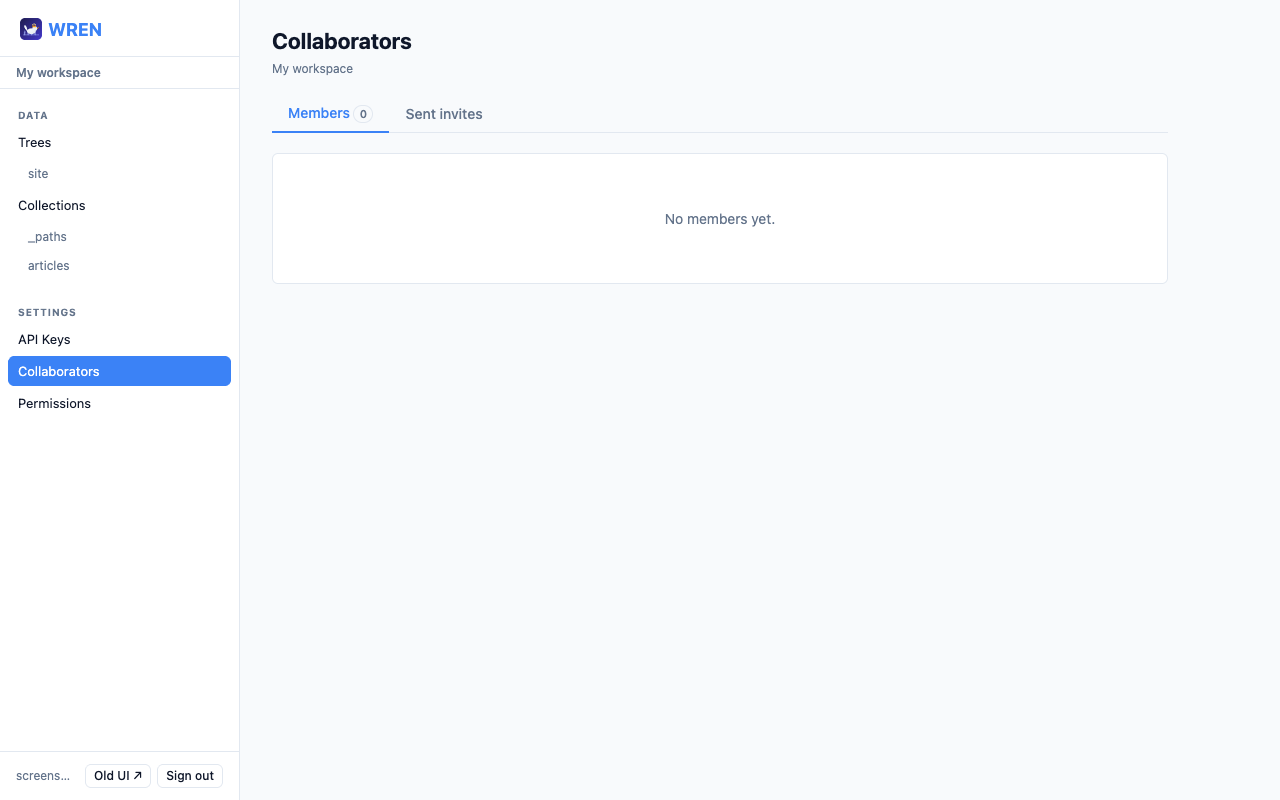
10 Collaborators & orgs
Invite other users to your organisation. They get their own login but share access to your collections, trees, and settings.
Invite a collaborator
- 1 Go to Settings → Collaborators → Sent invites.
- 2 Enter the invitee's email address, choose a role (viewer / editor / admin), and click Send invite.
- 3 Share the invite link with the recipient, or they can accept via the pending invitations callout that appears at the top of their Collaborators page.
wren invites send [email protected] --role=editor
wren invites list
wren invites revoke <inviteId>
POST /api/invites
{"email":"[email protected]","role":"editor"}

GET    /api/invites
DELETE /api/invites/<inviteId>
Accept an invite
When you receive an invite link (/admin#/accept/TOKEN), open it in a browser while logged in. If you're not logged in you'll be prompted to sign in first, then redirected back to complete acceptance. Alternatively, a callout appears at the top of Settings → Collaborators listing any pending invitations with an Accept button — visible regardless of which workspace you have selected in the org switcher.
# Accept by invite ID (from "received" list)
wren invites received
wren invites accept-by-id <inviteId>

# Accept by token (from invite URL)
wren invites accept <token>
GET /api/invites/received
POST /api/invites/<inviteId>/accept
POST /api/invites/accept  {"token":"…"}
To remove a member: Settings → Collaborators → Members → click Remove.
wren members list
wren members remove <userId>
GET    /api/members
DELETE /api/members/<userId>
11 Permissions
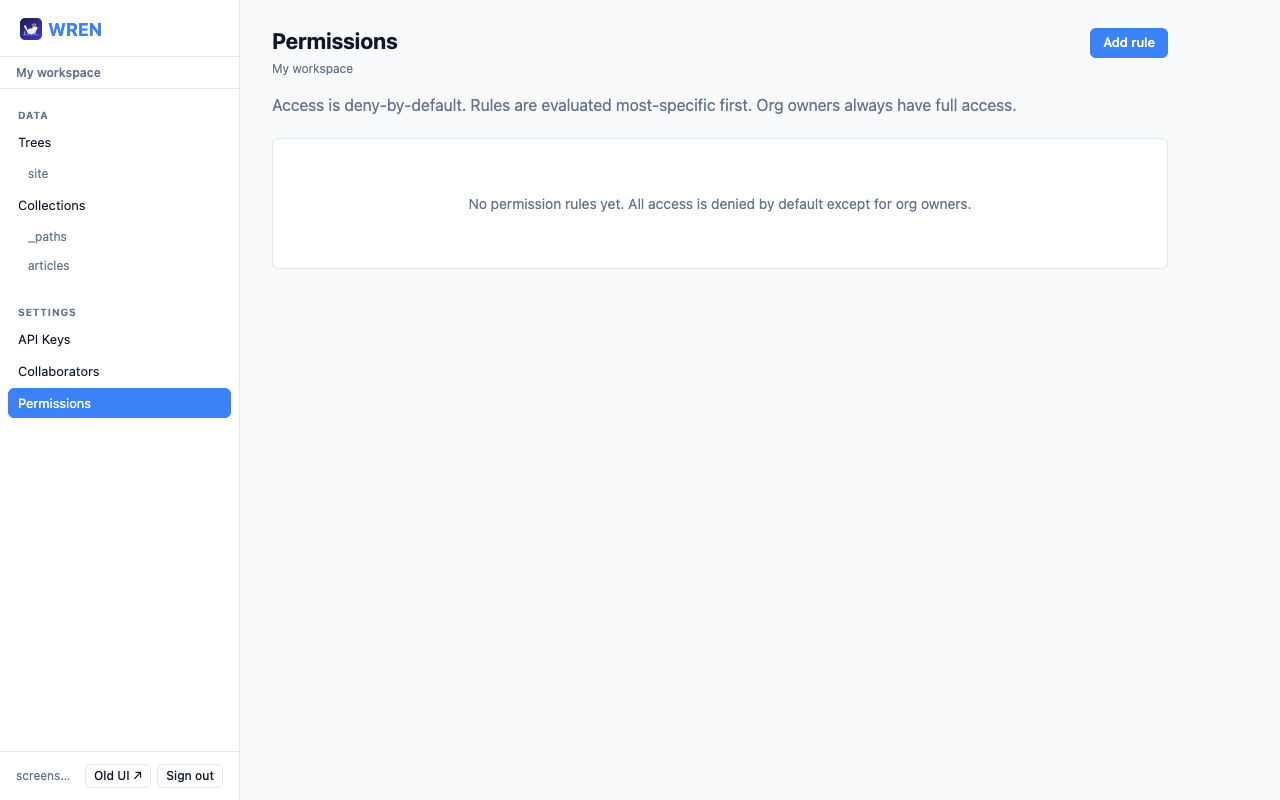
Permissions control what each principal (a member or API key) can do on a given resource (a collection, all collections, or everything). Access levels are none, read, write, and admin.
Go to Settings → Permissions to manage rules, or open a collection's Access tab to manage rules scoped to that collection.
collection:pages — a specific collectioncollection:* — all collections* — everything (collections, trees, settings)Principal format:
member:<userId>, key:<keyId>, member:* (all members), * (everyone)
labelFilter (only documents with a specific label are visible) or a filterExpr (a JMESPath / JSONata expression that's applied to each document before returning it). Use these to expose only published content or strip private fields from API key responses.
wren permissions list

# Give an API key read access to one collection
wren permissions create \
  --principal=key:<keyId> \
  --resource=collection:pages \
  --access=read

# Give all members read/write on all collections
wren permissions create \
  --principal=member:* \
  --resource=collection:* \
  --access=write

# Only expose published documents to a key
wren permissions create \
  --principal=key:<keyId> \
  --resource=collection:pages \
  --access=read \
  --label-filter=published

wren permissions delete <permissionId>
GET  /api/permissions
POST /api/permissions
{
  "principal": "key:<keyId>",
  "resource":  "collection:pages",
  "access":    "read",
  "labelFilter": "published"
}
PUT    /api/permissions/<id>
DELETE /api/permissions/<id>
12 CLI reference
Setup
cd wren/cli
bun install
bun link           # registers "wren" globally

wren config --url http://localhost:4000
wren auth login -e [email protected] -p yourpassword
wren auth whoami
Full command list
# ── Auth ──────────────────────────────────────────────────
wren auth login -e <email> -p <password>
wren auth logout
wren auth whoami

# ── Org ───────────────────────────────────────────────────
wren org current
wren org switch <orgId>

# ── Collections ───────────────────────────────────────────
wren collections

# ── Documents ─────────────────────────────────────────────
wren list <collection> [--filter] [--limit] [--label]
wren get <collection> <id> [--label]
wren create <collection> '<json>'
wren update <collection> <id> '<json>'
wren delete <collection> <id>
wren paths <collection> <id>

# ── Versions ──────────────────────────────────────────────
wren versions <collection> <id>
wren diff <collection> <id> --v1=N --v2=N
wren rollback <collection> <id> <version>
wren label <collection> <id> <label> [--version=N]

# ── Schemas ───────────────────────────────────────────────
wren schema get <collection>
wren schema set <collection> '<json-schema>' [--display-name="{field}"] [--type=binary]
wren schema delete <collection>

# ── Binary assets ─────────────────────────────────────────
wren upload <collection> <file>
wren upload-version <collection> <id> <file>
wren download <collection> <id> [--version=N] [--out=<path>]

# ── Trees ─────────────────────────────────────────────────
wren tree list
wren tree view <treeName>
wren tree get <treeName> <path>
wren tree set <treeName> <path> <documentId>
wren tree remove <treeName> <path>

# ── API keys ──────────────────────────────────────────────
wren keys list
wren keys create <name>
wren keys revoke <id>

# ── Collaborators ─────────────────────────────────────────
wren invites send <email> [--role=viewer|editor|admin]
wren invites list
wren invites received
wren invites accept-by-id <inviteId>
wren invites accept <token>
wren invites revoke <id>
wren members list
wren members remove <userId>

# ── Permissions ───────────────────────────────────────────
wren permissions list
wren permissions create --principal=<p> --resource=<r> --access=<a> \
                        [--label-filter=<label>] \
                        [--filter-lang=jmespath|jsonata] [--filter-expr=<expr>] \
                        [--audit-reads] [--audit-writes]
wren permissions update <id> [same options]
wren permissions delete <id>
13 Client libraries
WREN ships official client libraries for TypeScript/JavaScript and Python. Both cover the full API surface — documents, versions, labels, diff, schemas, trees, keys, invites, permissions — with complete type definitions.
TypeScript / Node / Bun
Works in Node.js ≥ 18, Bun, and the browser. Zero runtime dependencies — uses the native fetch API.
npm install @wren/client
# or: bun add @wren/client
import { WrenClient } from "@wren/client";

const wren = new WrenClient({
  baseUrl: "https://your-wren-instance.example.com",
  apiKey: "wren_…",          // from Admin UI → API Keys
});

// Create a document
const doc = await wren.documents.create("articles", {
  title: "My first article",
  body:  "Hello, world!",
});
console.log(doc.id, doc.version); // "uuid…", 1

// Update (new version created automatically)
const v2 = await wren.documents.update("articles", doc.id, {
  title: "My first article (revised)",
  body:  "Hello, world! — edited",
});
console.log(v2.version); // 2

// View full version history
const history = await wren.versions.list("articles", doc.id);
console.log(history.versions); // [{version:1,…}, {version:2,…}]

// Diff two versions
const diff = await wren.diff.compare("articles", doc.id, 1, 2);
diff.diff.forEach(d => console.log(d.op, d.path, d.value));

// Pin a label
await wren.labels.set("articles", doc.id, "published");

// Read back via label
const live = await wren.documents.get("articles", doc.id, { label: "published" });

// Rollback to v1
await wren.versions.rollback("articles", doc.id, 1);
WrenNotFoundError (404), WrenUnauthorizedError (401), WrenValidationError (422 with per-field details). Import them from @wren/client and use instanceof to handle specific cases.
Python
Supports Python 3.9+. Provides both a synchronous client and an async client (via httpx). Fully typed with dataclasses.
pip install wren-client
from wren import WrenClient

# Use as a context manager — connection is closed automatically
with WrenClient("https://your-wren-instance.example.com", api_key="wren_…") as wren:

    # Create a document
    doc = wren.documents.create("articles", {
        "title": "My first article",
        "body":  "Hello, world!",
    })
    print(doc.id, doc.version)  # "uuid…", 1

    # Update
    v2 = wren.documents.update("articles", doc.id, {
        "title": "My first article (revised)",
    })
    print(v2.version)  # 2

    # View version history
    history = wren.versions.list("articles", doc.id)
    for v in history.versions:
        print(v.version, v.labels, v.created_at)

    # Diff two versions
    result = wren.diff.compare("articles", doc.id, 1, 2)
    for entry in result.diff:
        print(entry.op, entry.path, entry.value)

    # Pin a label
    wren.labels.set("articles", doc.id, "published")

    # Read via label
    live = wren.documents.get("articles", doc.id, label="published")

    # Rollback to v1
    wren.versions.rollback("articles", doc.id, 1)
from wren import AsyncWrenClient

async def main():
    async with AsyncWrenClient("https://…", api_key="wren_…") as wren:
        doc = await wren.documents.create("articles", {"title": "Async hello"})
        history = await wren.versions.list("articles", doc.id)
        await wren.labels.set("articles", doc.id, "published")
WrenNotFoundError, WrenUnauthorizedError, WrenForbiddenError, and WrenValidationError (with a .details list of field errors). All are subclasses of WrenError, which exposes .status and .body.